

Disclosure: I use Hostinger for MoneySavvyUK. Hostinger links in this guide are ordinary editorial links. My own paid planners are mentioned below.
Last updated: 12 October 2026. Menu labels may vary with your account and dashboard version.
This Hostinger WordPress setup UK guide walks you through building a simple site, from choosing the right product to checking that a reader can open your first article.
MoneySavvyUK uses WordPress on Hostinger. The instructions below follow current official documentation; they are not a claim that every account looks identical or that a fresh purchase was completed for this article.
If you haven’t chosen your topic or spending limit, begin with how to start a blog UK. Then keep this page open beside your own dashboard.
Quick answers for new UK bloggers
How do I set up a WordPress blog on Hostinger?
Choose a hosting plan that supports WordPress, secure your account and register or connect your domain. In Hostinger’s Websites area, add a WordPress website and create your administrator login. Confirm HTTPS, select a theme, configure essential settings and publish a checked article. Test navigation, forms and backups before promoting the site.
- Choose WordPress hosting and check the full checkout charge.
- Connect your domain and install WordPress.
- Confirm HTTPS and set your timezone and permalinks.
- Add a theme, essential plugins, pages and navigation.
- Preview your article and test the public site.
Which plugins do I need for a beginner WordPress blog?
Start with plugins that perform necessary jobs: SEO, backups, caching, contact forms and any privacy controls your site requires. Check what your host already provides before installing more. Rank Math, UpdraftPlus, LiteSpeed Cache and WPForms are possible options, rather than a compulsory bundle; consent tools need configuration for your actual scripts.
What should I check before publishing my WordPress blog?
Open your site while logged out and check the homepage, an article, the mobile menu and policy links. Test your contact form and confirm a usable backup. Check HTTPS, image display, the sitemap and indexing settings. If you collect data, test the applicable privacy controls rather than relying on a banner alone.
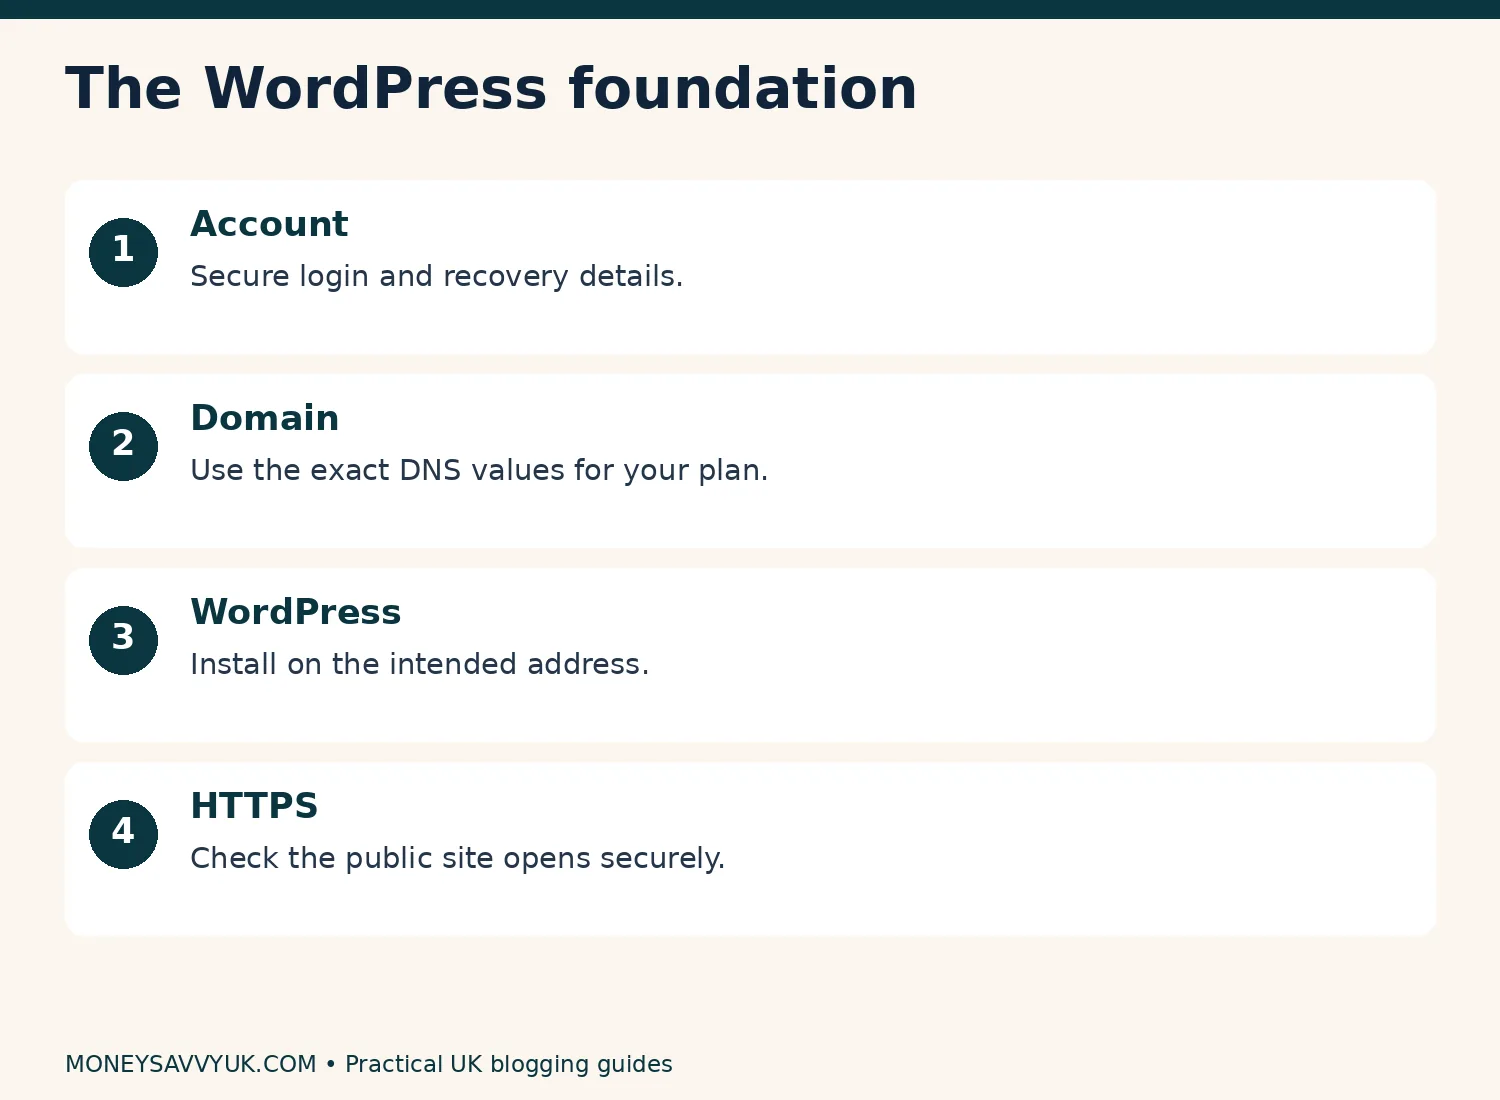
Hostinger WordPress setup UK: 16 steps to a working site
1. Confirm the product before checkout
Select hosting that supports WordPress and choose WordPress during onboarding. Hostinger offers other building products, so a button mentioning AI doesn’t necessarily mean you are installing WordPress. The destination you want is a WordPress dashboard with Posts, Pages and Appearance.
Compare the full term payment, renewal price, website limits, storage, backup frequency and included services. Avoid buying a more expensive plan because you assume every feature is essential. A basic publishing site has different requirements from a busy online shop.
The UK page checked for this guide displayed Premium, Unlimited and Cloud Startup. Older tutorials may call a middle tier Business; match the features in your own checkout rather than treating an old plan name as current.
Make a buying record: plan name, term, subtotal, tax, full charge, renewal amount and renewal date. If a service is included only for one year, record when it ends. Keep your receipt. Use our budget calculators if the upfront payment needs a household-budget check.
2. Secure your hosting account
Use an email address you control and a unique password stored securely. Enable the available two-factor authentication and save recovery codes privately. Account recovery becomes much harder if you depend on an email address belonging to somebody else.
Your hosting login and WordPress administrator login serve different purposes. The hosting account manages billing, domains and server-level tools. The WordPress account manages the site’s content and settings. Keep a record of which is which without putting passwords in an ordinary shared document.
If an AI tool helps you, share only a redacted screen. Hide account numbers, invoices, email addresses, passwords, authentication codes and private records. Never paste credentials into a prompt to get through a login step.
Success check: you can access the hosting dashboard and know how to recover your account. Don’t start installing things on an account you cannot reliably return to.
3. Register or connect your domain
A domain is the address readers type. Hosting is where your website runs. You can buy them together or use a domain registered elsewhere. A domain transfer and a DNS change are different operations; pointing a domain to new hosting doesn’t always require transferring it.
For a new eligible domain included in your plan, follow the claim-domain process and check the extension, spelling and later renewal charge. For an existing domain, use the values shown for your hosting plan. Don’t copy nameservers from an old blog post.
Changing nameservers can also change which DNS records control your email. If the domain already has email, save its MX, SPF, DKIM and other relevant records before altering anything. Ask support to help preserve them if you aren’t sure.
DNS changes take time to spread. Don’t repeatedly switch values because your own browser hasn’t updated. The official domain connection guide explains the available methods. Keep existing hosting active during a migration until the new site and email have been checked.
4. Install WordPress on the right address
In Hostinger’s Websites area, choose the option to add a website and select WordPress. Follow onboarding to create your administrator details and select the domain or temporary address. You may see a choice between AI assistance and a blank start. A blank start is fine for this guide.
Hostinger also documents an Auto Installer route within a website’s dashboard. This is an alternative installation method, not a reason to install a second copy on an already populated site. Before confirming any installation, check whether that destination contains existing content.
For a blog at the main domain, use the root address rather than accidentally adding a subfolder such as /wordpress/. A deliberate subfolder can be valid, but it changes where the site lives. Read the installation-path field rather than clicking through it.
Wait for completion and open the WordPress administrator area. Bookmark its legitimate address. The add-a-WordPress-site instructions and Auto Installer instructions are useful if your screen differs.
5. Confirm HTTPS before designing
HTTPS encrypts the connection between a visitor and your website. It needs a valid certificate and the correct domain configuration. Use the official SSL installation guide. Look for the SSL status in your website dashboard and follow Hostinger’s guidance if the certificate is pending or has failed.
Open the public site using its https address. Check that your browser doesn’t report a certificate error. Don’t tell readers to ignore a security warning. If DNS has just changed, confirm the domain points correctly before repeatedly requesting a new certificate.
Once the certificate works, use the appropriate HTTPS configuration. In WordPress, the site addresses under Settings → General should agree with your intended secure address. Changing these fields blindly can lock you out, so record the existing values first.
Success check: the homepage opens securely while you are logged out, and internal pages stay on the same intended domain. If old images load over http, investigate mixed content rather than installing random “fix everything” plugins.
6. Set the basic WordPress details
Under Settings → General, set your site title and a clear tagline, if your theme displays one. Select the correct language and choose the London timezone for a UK publishing schedule. A city timezone handles daylight-saving changes more reliably than a fixed offset.
Check the administrator email and confirm any verification message. Don’t enable open user registration unless the website actually needs it. A normal beginner blog can usually publish without offering visitor accounts.
Visit Users → Profile to set the public display name. Your login username does not need to be your author name. Write an honest biography and avoid credentials, qualifications or business results you don’t have.
Keep a short setup log with each change and date. If something stops working after a change, the log gives you a useful starting point. A tiny amount of documentation saves a great deal of guessing later.
7. Choose permalinks before publishing
Open Settings → Permalinks and choose Post name for a straightforward article-based site, then save. This gives you readable addresses based on each post’s slug. It isn’t a magic ranking switch; the benefit is a clear and manageable URL structure.
Inside a draft, shorten the slug to the topic: small-kitchen-storage-uk is easier to maintain than a whole headline with punctuation and a year. Use descriptive words and hyphens. Avoid repeatedly changing published addresses.
If you already have indexed posts, don’t change the site’s permalink structure as a casual cleanup task. Map the old and new addresses and arrange appropriate redirects first. Otherwise readers and existing links can land on errors.
Success check: publish a test article only when appropriate, open its public address and check it works. A homepage working doesn’t prove article URLs work. WordPress’s permalink documentation explains the setting.
8. Install one free theme
Go to Appearance → Themes → Add New, search for a maintained theme and inspect its official listing. GeneratePress, Astra, Kadence and Blocksy offer free versions; paid extensions and some templates are separate. Choose one rather than buying several “just in case”.
Install and activate it on your new site. The appearance controls depend on the theme: classic themes often use the Customizer, while block themes use the Site Editor. If a tutorial shows a missing menu, identify the theme type before assuming WordPress is broken.
Set readable fonts, a clear link colour and a restrained palette. Use the default block editor for your first pages. Extra block plugins are optional, not a prerequisite for writing a useful blog post.
Test the layout on a phone before adding design flourishes. You want comfortable paragraphs, visible headings and buttons that don’t overlap. Our cosy desk setup guide may help with your workspace, but new equipment isn’t required to complete this setup.
9. Give every plugin a job
Plugins add functions. More plugins do not automatically make a site better. Start with what you need, use official sources and check whether your host or another plugin already supplies the same function.
| Job | Sensible starting approach |
|---|---|
| SEO metadata and sitemap | One SEO plugin, such as Rank Math Free |
| Caching | LiteSpeed Cache where supported; avoid duplicate caching plugins |
| Independent backups | A backup tool with storage you control |
| Contact enquiries | One form tool if a form is needed |
| Consent controls | A suitable tool configured for actual scripts and tested |
Go to Plugins → Add New Plugin, search, check the author and listing, install and activate. Configure one plugin, test it, then move to the next. Free plans can have limits and optional upgrades; you can often launch without purchasing those upgrades.
Don’t cloak Amazon links with a general redirect plugin or assume link shortening is required for affiliate marketing. Use Amazon’s approved link tools. For the rules behind monetised posts, read UK blogging legal pages.
10. Build pages and navigation
Create Home, About, Contact and the privacy/disclosure pages relevant to your site. Pages are suitable for these enduring resources; Posts are suitable for dated articles. You don’t need a separate page for every article.
If you want a static homepage and a blog listing, create both pages, then select them under Settings → Reading. Alternatively, display recent posts on the homepage initially. Either can work if visitors can find your content.
Add the main pages to your navigation using the controls supplied by your theme. Put policy links in a visible footer. Test the mobile menu yourself; a menu that exists only on desktop isn’t finished.
Start with a few genuine categories rather than dozens of almost-empty ones. Category archives aren’t automatically harmful. Decide whether an archive is useful to search visitors; don’t noindex all categories just because an AI answer suggested it.
11. Configure Rank Math without chasing scores
Run the setup wizard and describe your site accurately. Choose the identity and author details that apply. Enable the sitemap function if this plugin is handling sitemaps, and avoid running two competing SEO plugins.
For each post, add a descriptive SEO title, meta description and intended focus phrase. These are editorial tools. A high plugin score doesn’t prove ranking potential, factual accuracy or usefulness.
Check that public posts are intended to be indexable. While building privately, you may use the “Discourage search engines” setting under Reading, but remove it when the site is ready. This setting requests exclusion; it isn’t a password or security control.
An FAQ can help readers even without a search enhancement. Google’s current documentation no longer offers FAQ rich results, so don’t build your strategy around a promised expanded search listing. Use structured data only when it accurately matches visible content.
12. Verify Google Search Console directly
Search Console helps you inspect search visibility and crawling. It isn’t required for Google to discover every website, and verification doesn’t guarantee indexing. Setting it up gives you evidence when you need to diagnose a problem.
Open Search Console using your own Google account. Choose a Domain property if you can add a DNS verification record. Copy Google’s supplied TXT value, add it at the authoritative DNS provider without deleting unrelated records, then return to verify. DNS can take time to update.
A URL-prefix property offers other methods. An HTML verification tag can be placed through your SEO plugin’s webmaster-verification setting. Match the exact https address and follow Google’s ownership-verification instructions.
Find your actual sitemap address in the SEO plugin. Open it in a browser, then submit it in Search Console’s Sitemaps area. Don’t assume a Google-connection wizard created the intended property or submitted the correct sitemap: check the property and submission status yourself.
13. Add analytics once and test privacy controls
Analytics and Search Console do different jobs. Analytics measures activity on the site; Search Console reports search performance and indexing information. You can use Google’s Site Kit or another appropriate integration, but don’t install the same measurement tag through multiple routes.
Before collecting data, decide what you need and configure the applicable privacy and consent controls. A banner isn’t proof that tracking is correctly blocked. Verify the actual behaviour before consent, after rejection and after acceptance.
Google Consent Mode is a technical feature, not legal permission. If your setup is supposed to prevent optional analytics before consent, test that it does. Read the ICO’s current tracking guidance for applicable rules and exceptions.
After consent where required, visit the site and check real-time reporting. If pageviews appear twice, investigate duplicate installation before trusting the totals. A clean starting measurement is more useful than a flattering inflated number.
14. Save, preview and publish a real article
Go to Posts → Add New. Add your title, use one main subject and structure the body with headings. WordPress normally supplies the title as the page’s H1, so don’t add another H1 inside the article.
Save Draft explicitly before leaving the editor. Autosave and revisions are helpful, but they aren’t a replacement for a backup or a deliberate save. Preview the draft on mobile and desktop, then check links, images and disclosures.
Upload images you have rights to use, compress them sensibly and add meaningful alt text. Decorative images may need empty alt text; keyword stuffing doesn’t help accessibility. An illustrative AI image must not masquerade as evidence that you tested a product.
Choose a category and featured image. Check whether your theme displays the featured image automatically so you don’t unintentionally repeat it. If scheduling, inspect the publication date and timezone. Our start-a-blog roadmap explains how to choose the first ten articles.
15. Make backups you could actually restore
Check what your specific hosting plan backs up, how often and for how long. Automatic backups differ by plan. A backup can predate your latest article or expire before you notice a problem.
Maintain an additional copy under your control where practical. The official backup-download guide explains the hosting download route. A WordPress backup needs the database as well as files; an export of post text alone doesn’t recreate the complete site. Protect backup storage and verify that jobs complete.
Before a major change, make a fresh backup. Test restoration on a suitable staging or test environment when available. Restoring the whole live site can overwrite newer posts, form entries or orders, so don’t press Restore casually.
Keep original article documents and image files organised as well. Use a consistent folder name, such as article-slug, with source notes and dated changes. That makes a content correction much easier than searching through anonymous downloads.
16. Complete the reader’s launch test
Open the site in a private window, while logged out. Visit the homepage, one post, the contact route, policies and navigation. Submit your own test enquiry and confirm it arrives. Remove test content afterwards.
Check the site on an actual phone. Look for sideways scrolling, tiny text, images covering buttons and a consent banner that cannot be dismissed. Use a performance tool to investigate issues, but don’t present one laboratory score as a guarantee of real-world speed.
Inspect the new article in Search Console once public. Read the reported state rather than repeatedly requesting indexing. Confirm your backup ran, your administrator recovery details are saved and the next maintenance date is in your diary.
Only then promote the article. Our Pinterest SEO guide, Pinterest income guide and Pinterest affiliate guide help with discovery after the website works.
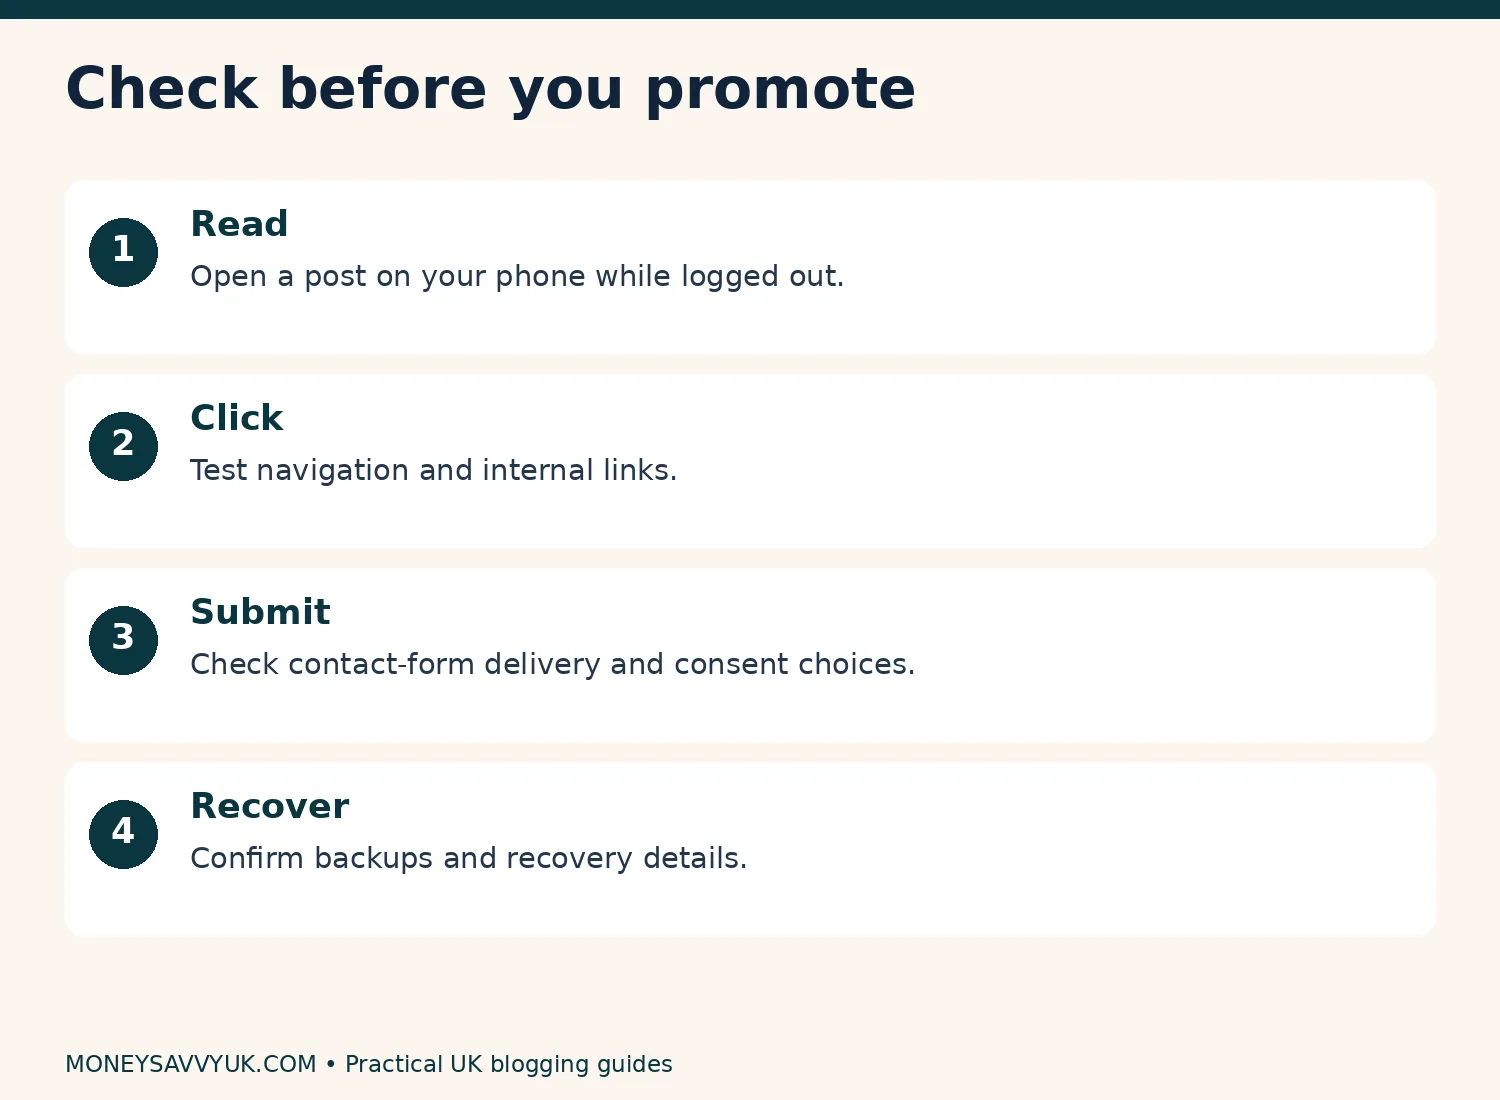
Before promoting your blog, check reading, links, forms and recovery.
If something goes wrong, use this order
| Symptom | First check | Avoid |
|---|---|---|
| Domain won’t open | Correct DNS provider, record values and propagation | Repeated random nameserver changes |
| Certificate warning | Domain pointing and SSL status | Ignoring browser warnings |
| Post URL gives an error | Correct slug, publication state and permalink setup | Changing every site’s URL |
| Updated image isn’t visible | Saved content, public URL and relevant cache | Installing another cache plugin |
| Contact email doesn’t arrive | Spam folder, form configuration and mail delivery | Assuming every form submission was delivered |
| Missing from Google | Indexability, inspection report and sitemap | Promising instant indexing |
Change one thing at a time and keep the previous value. If an error appeared after activating a plugin, that is useful evidence for support. Don’t delete the site to troubleshoot an unclear error.
For AI help, use: “Here is a redacted screenshot of my current screen. State what you can observe, ask for the missing screen if necessary, and give one reversible step. Do not invent menu labels or ask for my password.”
What I’d do first in a short work session
I’d finish account security, the domain and WordPress installation first, then stop. The next session can cover the theme and essential pages. Put “next action” in your setup log before closing the laptop.
Treat household spending and business subscriptions separately. Our subscription-cancellation guide, 50/30/20 budgeting guide and free Financial Reset Kit can help you decide which recurring costs belong in your budget.
Pin this guide for later.
Hostinger WordPress setup UK: FAQs
Do I need to buy WordPress separately?
The self-hosted WordPress software is free. You still need a suitable
hosting service and usually a domain, with their own charges and renewal
terms. Paid themes, plugins and services are optional purchases with
separate conditions. Confirm that your hosting checkout covers the
product and term you actually intend to use.Why is my domain not working after connection?
Check the authoritative DNS provider, the exact values supplied for
your plan and whether enough propagation time has passed. Existing email
records also need care when nameservers change. If the settings look
correct but the issue persists, give hosting support the domain and
error message rather than changing unrelated records.Does Rank Math automatically get my site indexed?
No plugin guarantees indexing. Rank Math can provide metadata,
verification fields and a sitemap, but Google decides what it crawls and
indexes. Verify the intended Search Console property, submit the actual
sitemap and inspect the article’s status. Remove unintended noindex
settings before requesting a review of a public page.Which plugins do I need for a beginner blog?
Choose plugins for functions you actually need: SEO, suitable
caching, backups, forms and consent controls where applicable. You do
not need a fixed number or a paid page builder to publish. Avoid
duplicate plugins doing the same job, configure each one and test the
result before adding another.Can I use free themes and plugins throughout?
You can build a useful beginner site with free WordPress tools, but
their free versions can have limits and optional paid extensions.
Hosting, domains and some services still cost money. Review your
requirements and later costs rather than relying on a promise that every
future feature will remain free.
Hostinger WordPress setup UK: summary
- Confirm WordPress hosting, total charges and renewal terms.
- Secure accounts, connect the domain and check HTTPS.
- Use one theme and a small, configured plugin stack.
- Verify discovery, privacy controls, forms and backups.
- Preview a real article and test the site while logged out.
Which step are you working on? Describe the screen you see without sharing passwords or recovery codes.
Sources and further reading
- Hostinger domain connection
- Hostinger nameserver values
- Hostinger WordPress installation
- WordPress reading settings
- WordPress permalink settings
- Google Search Console verification
- Google Search documentation updates
I’m not a financial adviser. This is general information; see the financial disclaimer.
About Dr Kalpana Govindaraasan
Dr Kalpana Govindaraasan is a UK mum, PhD materials chemist and former secondary science teacher who runs MoneySavvyUK. She shares practical ways to manage money and investigate income ideas, using official sources and clearly labelled examples.